
This lesson is made with PSPX9
But is good with other versions.
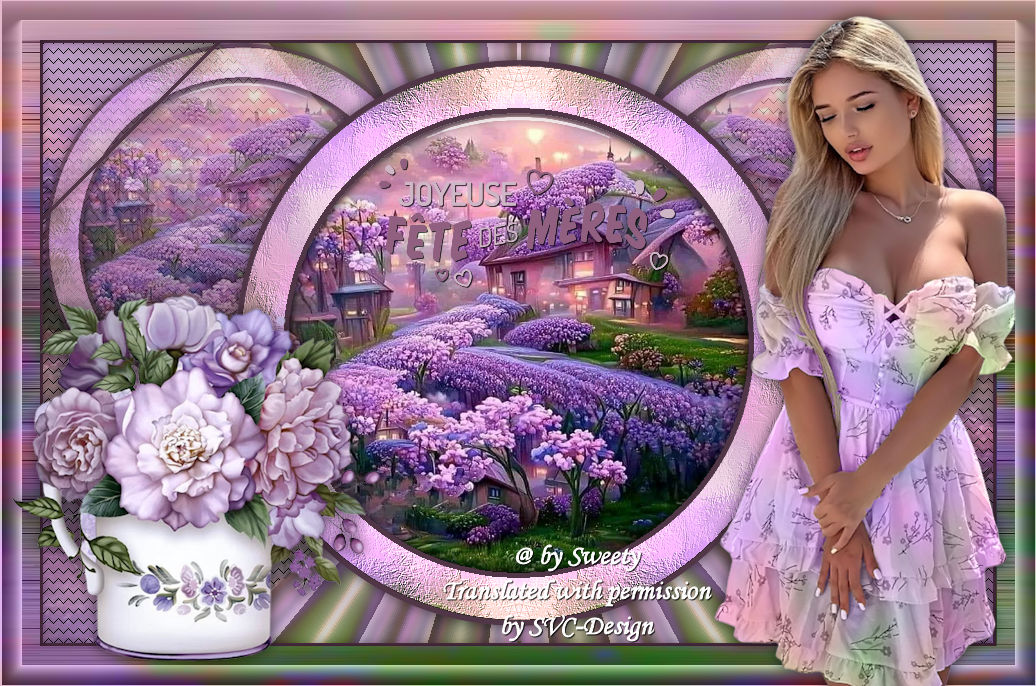
© by SvC-Design

Materialen Download :
Here
******************************************************************
Materials:
DECO PERSO 1 194 MAI 2023 SWEETY.png
AVRIL 2023 WORD ART FETE DES MERES 14 04 23 SWEETY.png
COULEURS VERSION 2 pspimage.png
SIGNATURE TUTORIELS .pspimage
SELECTION 1 194 .PspSelection
SELECTION 2 194 .PspSelection
SELECTION 3 194 .PspSelection
SELECTION 4 194 .PspSelection
9c31e8ac41d66e3958d4684ba1cee4dd.jpg
AVRIL 2023 RUSTIQUE COMPO 15 04 23 SWEETY.png
FEVRIER 2023 JULIETTE 2 17 02 23 SWEETY.png
******************************************************************
Plugin:
Effects - plugins - Filters - <I.C.NET Software> - Filters Unlimited 2.0 - Two Moon - Paper Fold....
Effects - Plugins - MuRa's Meister - Pole Transform
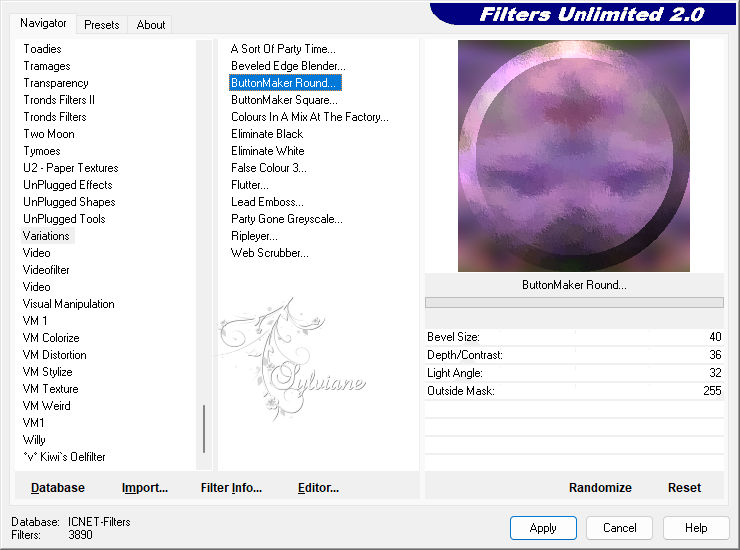
Effects - plugin - <I.C.NET Software> - Filters Unlimited 2.0 - Variations - ButtonMaker Round....
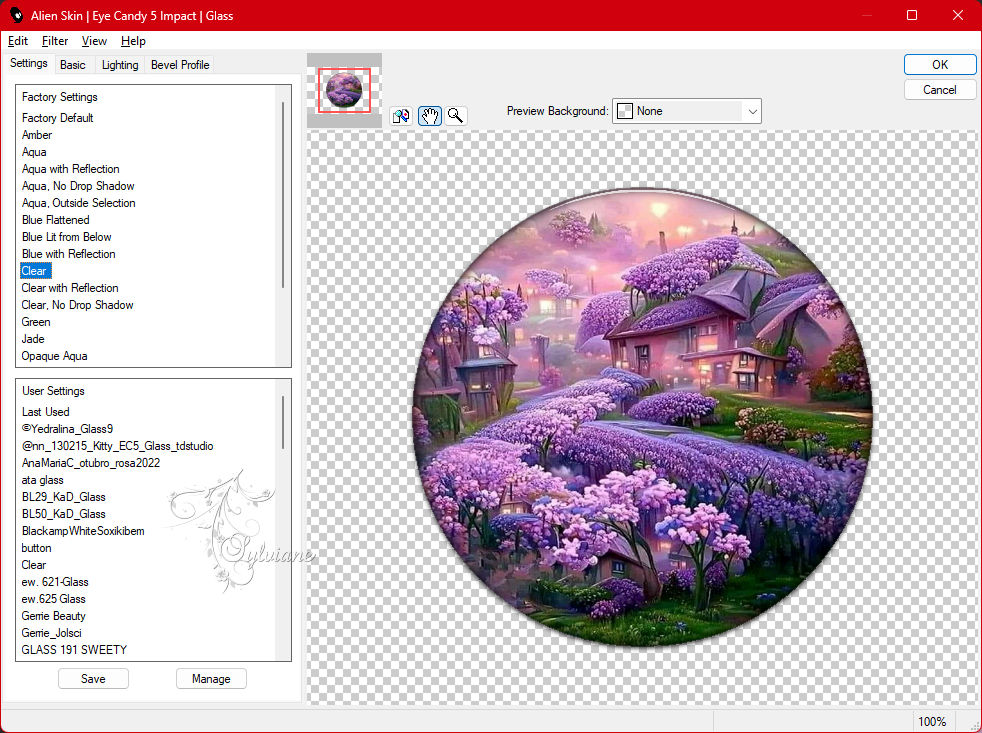
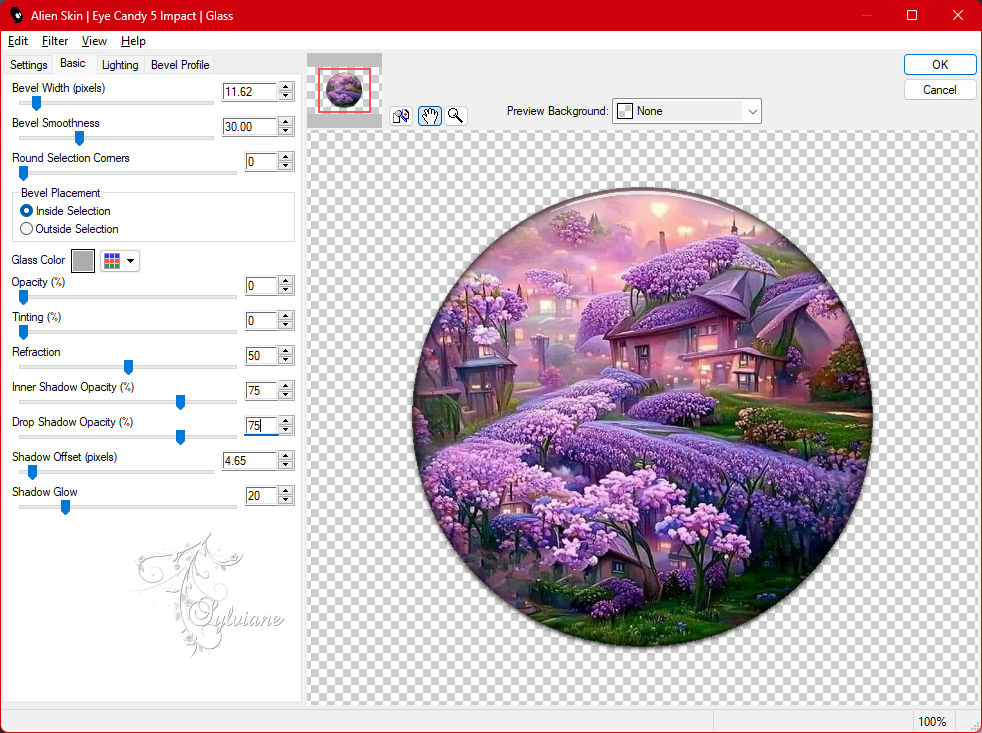
Effects - plugin - Alien Skin Eye Candy 5 : Impact - Glass
Effects - Plugins - <I.C.NET Software> - Filters Unlimited 2.0 - &<Bkg Designer sf10 I> - Center Mirror...
Effects - Plugins - VM Toolbox - Blast...
Effects - plugin - AAA Frames - Photo Frame
******************************************************************
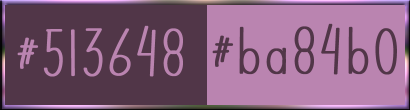
color palette
:
******************************************************************
methode
When using other tubes and colors, the mixing mode and / or layer coverage may differ
******************************************************************
General Preparations:
First install your filters for your PSP!
Masks: Save to your mask folder in PSP, unless noted otherwise
Texture & Pattern: Save to your Texture Folder in PSP
Selections: Save to your folder Selections in PSP
Open your tubes in PSP
******************************************************************
We will start - Have fun!
Remember to save your work on a regular basis
******************************************************************
1.
Open your self-chosen character tube and get 2 colors from it.
A dark Foreground color (= 1st color) and a lighter Background color (2nd color).
Set the tube aside for later use.
Open a new transparent image of950 x 600 px
Selections - Select all.
Open 9c31e8ac41d66e3958d4684ba1cee4dd.jpg
Edit - Copy.
Edit - Paste into selection.
Selection - Select None
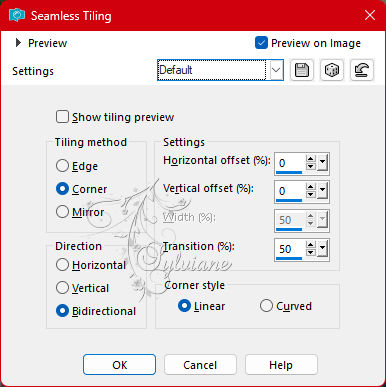
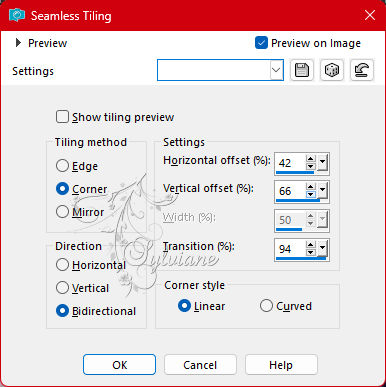
Effects - Image Effects - Seamless Tiling- default
Adjust - blur - gaussian blur
Range = 20.
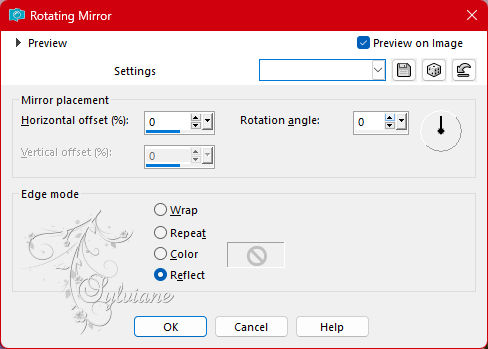
Effects - Reflection effects - Rotating mirror :
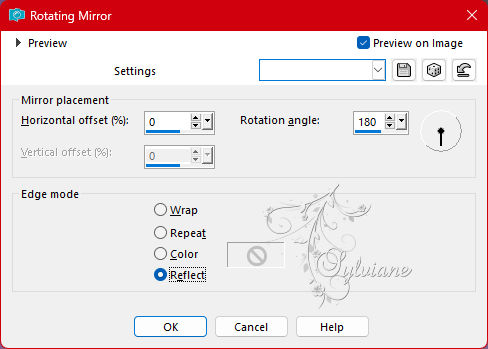
2.
Layers - Duplicate.
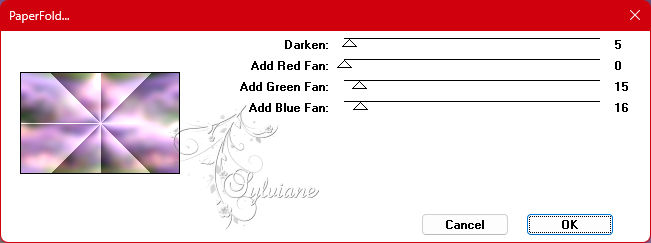
Effects - plugins - Filters - <I.C.NET Software> - Filters Unlimited 2.0 - Two Moon - Paper Fold.... :
Effects - Reflection Effects - Rotating Mirror
Layers - Properties : set the Opacity of this layer to ±70%.
Layers - New raster layer.
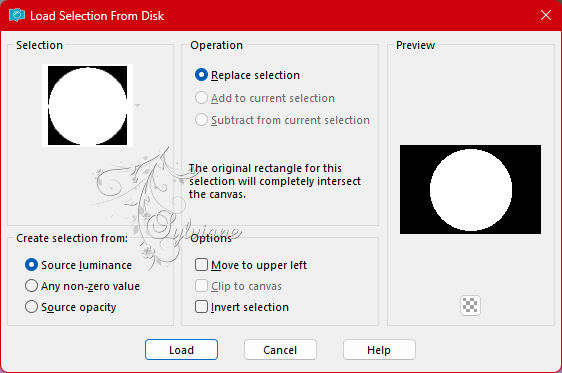
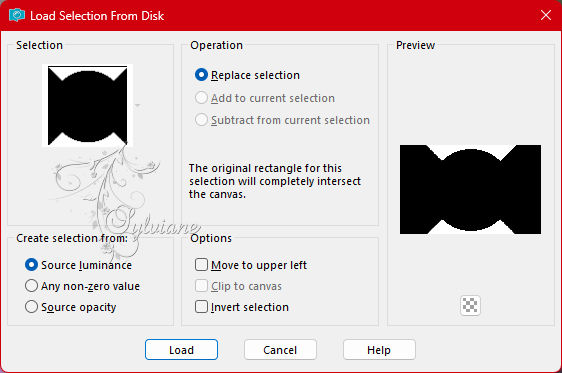
Selections - Load/Save selection - Load selection from disk : SELECTION 1 194

Flood fill the selection with the color 1
Selection - Select None
3.
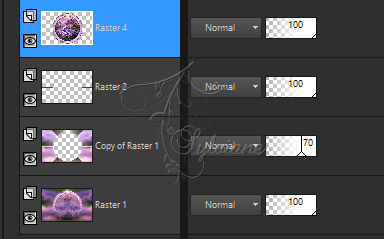
The top layer is now the active layer (= Raster 2).
Layers - Duplicate.
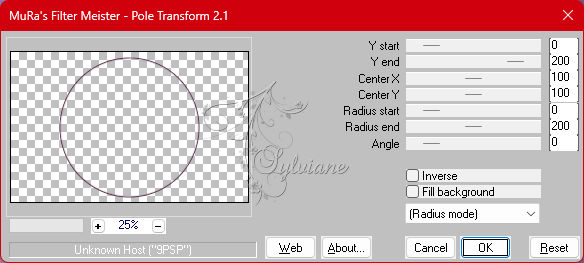
Effects - Plugins - MuRa's Meister - Pole Transform :
Layers - Duplicate.
Image - Mirror - Vertical Mirror
Layers - Merge - Merge down.
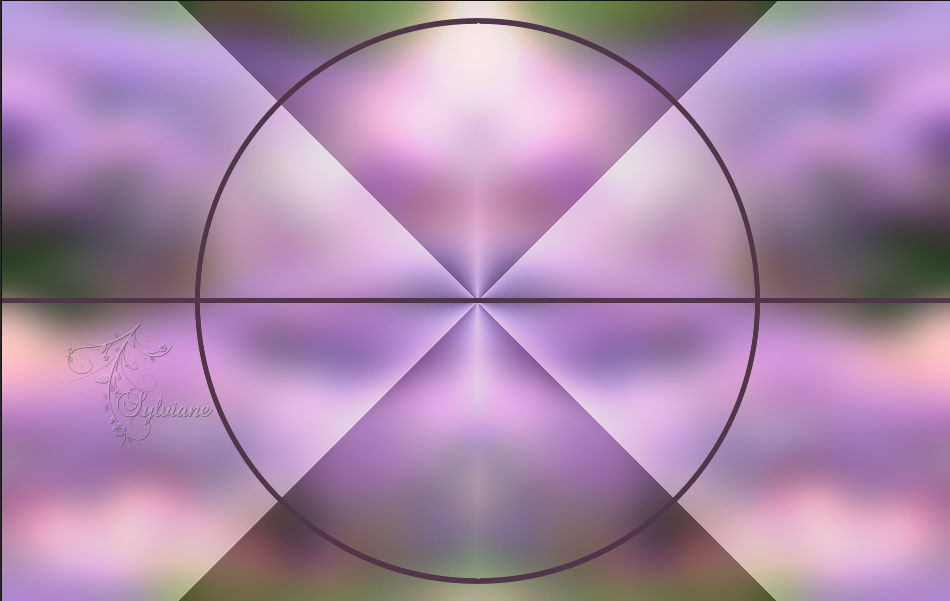
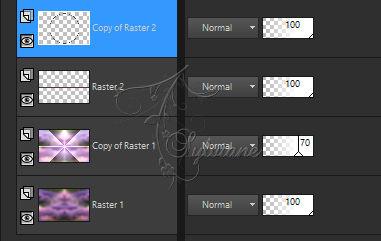
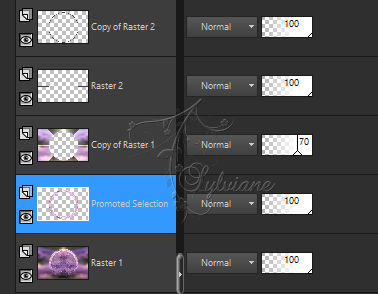
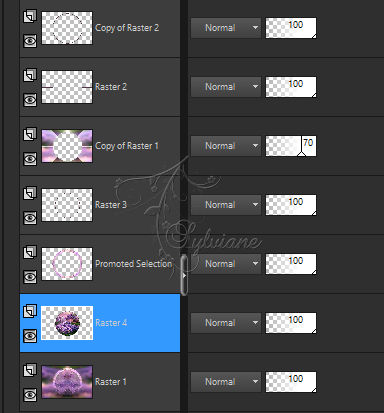
4.
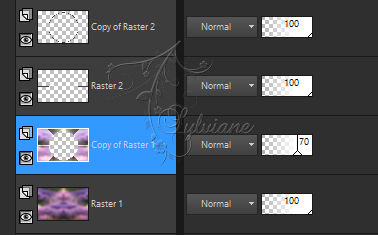
The Layer palette and creation now looks like this :
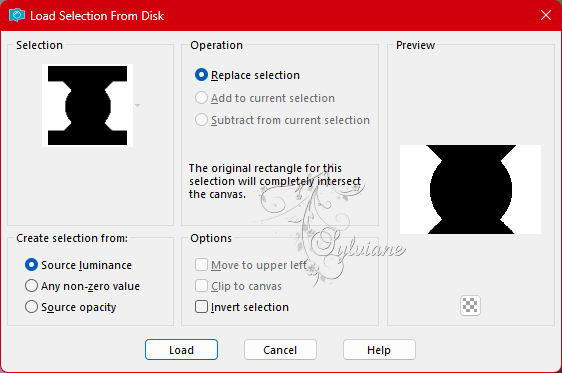
Selections - Load/Save selection - Load selection from disk : SELECTION 2 194
Activate Raster 2
Push the Delete key on your keyboard
Activate Copy of Raster 1
Push the Delete key on your keyboard
The Layer palette and creation now looks like this:
Leave the selection active !!!
5.
The 2nd layer at the bottom is now the active layer (= Copy of Raster 1).
Activate raster 1
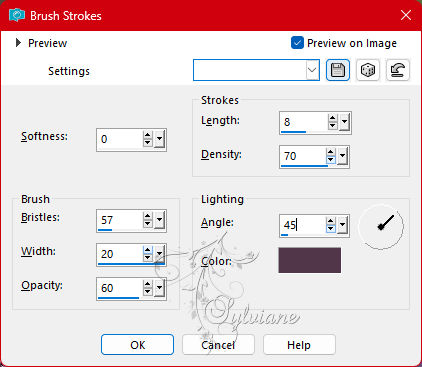
Effects - Artistic effects - Brush strokes : color1
Effects - plugin - <I.C.NET Software> - Filters Unlimited 2.0 - Variations - ButtonMaker Round.... :
Effects - Reflection Effects - Rotating Mirror
Selections – Promote selections to layer
Selections - Modify - Contract - 42 px
Press on the Delete key.
Selection - Select None
6.
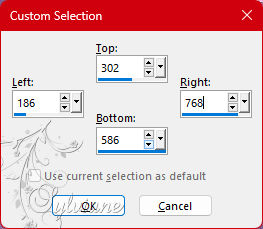
Activate Selection - Custom selection
Press the Delete key
Selection - Select None
Layers - Duplicate.
Image - Mirror - Vertical Mirror
Layers - Merge - Merge down.
Activate the Magic Wand, Feather and Tolerance at 0.
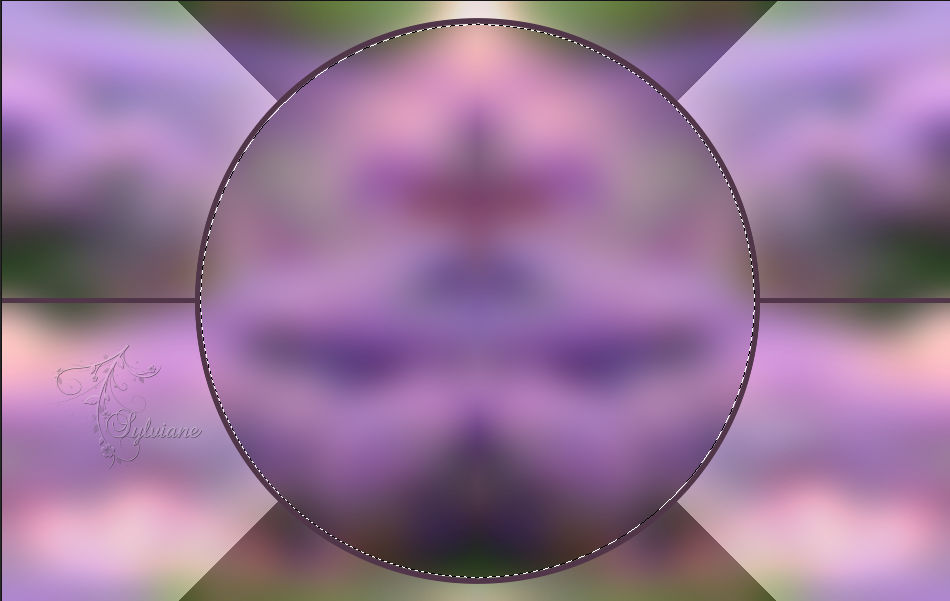
Go back to your creation and select the center of the circle :
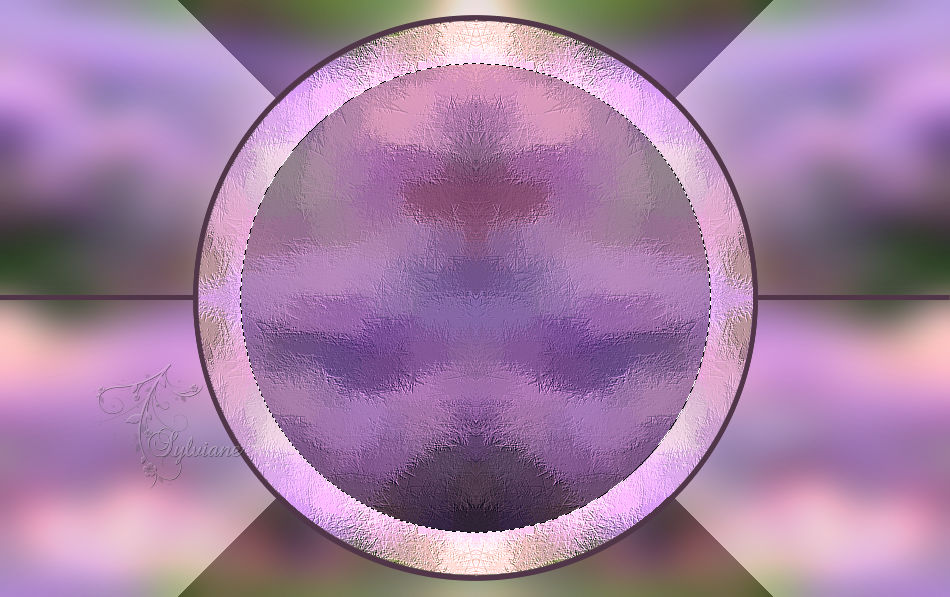
7.
The 2nd layer at the bottom is the active layer (promoted selection).
Layers - New raster layer.
Flood fill the selection with the 1st color.
Selections - Modify - Contract - 5px
Push at the Delete key.
Layers - New raster layer.
Open 9c31e8ac41d66e3958d4684ba1cee4dd.jpg
Edit - Copy
Edit - Paste into selection
Adjust - Sharpness - Sharpen.
Selections - Invert.
Effects - 3D Effects - Drop shadow :
0/0/60/20 color:#000000
Layers – arrange – move down (2x)
Selections - Invert.
Effects - plugin - Alien Skin Eye Candy 5 : Impact - Glass :
Selection - Select None
8.
The 2nd layer at the bottom is the active layer (= Raster 4).

Now activate the middle layer in the Layer palette (= Raster 3).
Layers – merge – merge down (2x)
Layers - arrange – up (2x)
Activate the layer just above it in the Layer palette (= Copy of Raster 2).
Layers - Merge - Merge down.
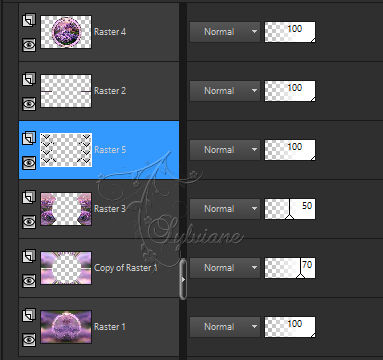
The Layer palette now looks like this:
Effects - 3D Effects - Drop shadow :
0/0/60/20 color:#000000
9.
Activate the 2nd layer at the bottom in the Layer palette (= Copy of Raster 1).
Selections - Load/Save selection - Load selection from disk : SELECTION 3 194
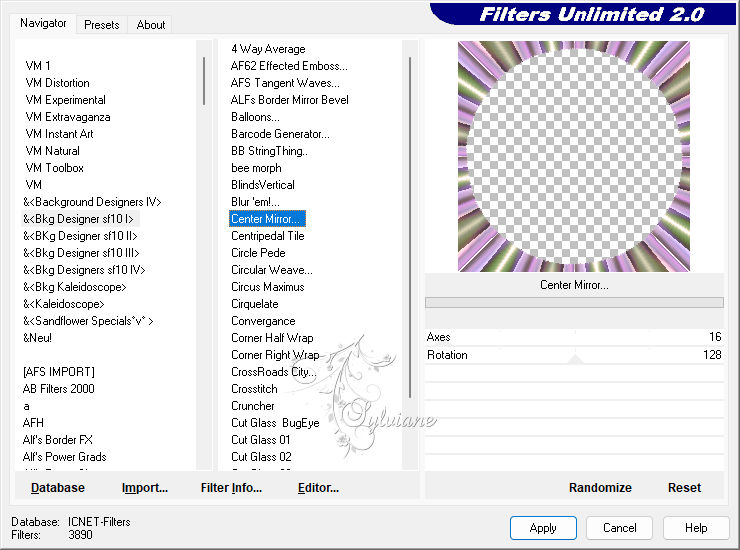
Effects - Plugins - <I.C.NET Software> - Filters Unlimited 2.0 - &<Bkg Designer sf10 I> - Center Mirror... :
Effects - Reflection Effects - Rotating Mirror
Selection - Select None
The Opacity of this layer is set to ±70% (see point 2), leave it like this.
10.
The 2nd layer at the bottom is now the active layer (= Copy of Raster 1).
Selections - Load/Save selection - Load selection from disk : SELECTION 4 194
Layers - New raster layer.
Open 9c31e8ac41d66e3958d4684ba1cee4dd.jpg
Edit - Copy
Edit - Paste into selection
Effects - Reflection effects - Rotating mirror
Layers - Properties : set the opacity of this layer between 40 and 60%, whatever you like best.
Leave the selection active !!!
Layers - New raster layer.
Open from the materials the element "DECO PERSO 1 194 MAI 2023 SWEETY".
Edit - Copy.
Go back to your creation.
Edit - Paste into selection.
Layers - Duplicate.
Layers - Merge - Merge down.
Selection - Select None
Effects - 3D Effects - Drop shadow :
0/0/60/20 color:#000000
11.
The Layer palette looks like this at this point :
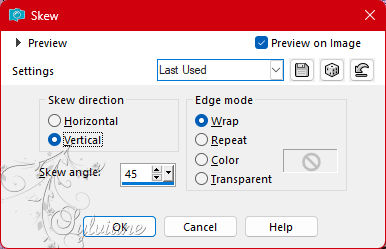
Activate the 3rd layer in the top of the Layer palette (= Raster 2).
Effects - geometric effects - skew
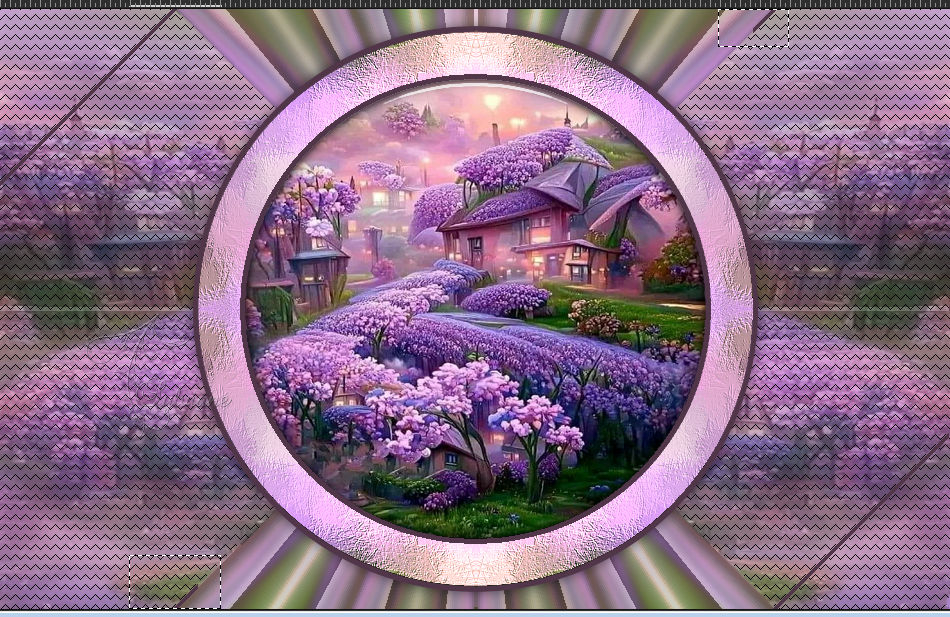
Activate the "Eraser Tool" (= eraser) or the Selection Tool, whatever works easier for you.
Remove the 2 lines in the upper right corner and in the lower left corner:
Layers - Duplicate.
Image - Mirror - Horizontal Mirror
Layers - Merge - Merge down.
Effects - 3D Effects - Drop shadow :
0/0/60/20 color:#000000
12.
Activate the 2nd layer at the top (= Raster 4).
Layers - Duplicate.
Image - Resize : 70%, resize all layers unchecked.
Effects - Image Effects - Seamless Tiling
Effects - Reflection effects - Rotating mirror
Layers - Properties : set the Opacity of this layer to 70%.
Layers – arrange – move down (2x)
13.
Afbeelding – Randen Toevoegen – symmetrisch - 3 px - color 1
Selections - Select all.
Afbeelding – Randen Toevoegen – symmetrisch - 40 px with a color of your choice
Open 9c31e8ac41d66e3958d4684ba1cee4dd.jpg
Edit - Copy.
Selections - Invert.
Edit - Paste into selection.
Adjust - Blur - Gaussian Blur
Range = 20.
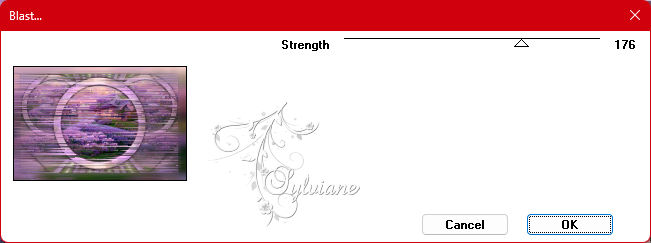
Effects - Plugins - VM Toolbox - Blast... :
Effects - Reflection Effects - Rotating Mirror
Leave the selection active !!!
14.
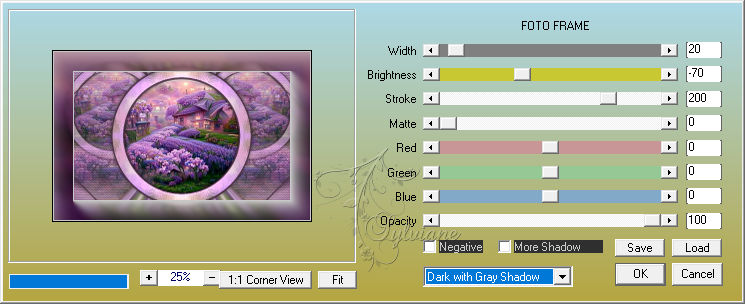
Effects - plugin - AAA Frames - Photo Frame :
Effects - Reflection Effects - Rotating Mirror :
Selections – Promote selections to layer
Leave the selection active !!!
Activate the bottom layer in the Layer palette (= Background).
Edit - Paste into selection (your image is still in memory).
Activate Promoted Selection
Layers - Properties : set the Blend Mode of this layer to Luminance (old).
Effects - 3D Effects - Drop shadow :
0/0/60/20 color:#000000
Selection - Select None
15.
Open FEVRIER 2023 JULIETTE 2 17 02 23 SWEETY.png
Edit - Copy.
Edit - Paste as a new layer.
Resize the tube if necessary
Image - Mirror - Horizontal Mirror
Place the tube to the right
Give the tube a Drop shadow of your choice.
Open AVRIL 2023 RUSTIQUE COMPO 15 04 23 SWEETY.png
Edit - Copy.
Edit - Paste as a new layer.
Resize the tube if necessary
Place the tube at the bottom left
Give the tube a Drop shadow of your choice.
AVRIL 2023 WORD ART FETE DES MERES 14 04 23 SWEETY.png
Edit - Copy.
Edit - Paste as a new layer.
Color the text if you work with other colors.
Place the text on top of the circle
Give the text a Drop Shadow of your choice.
16.
place the author's watermark on it
Put your watermark on it.
Layers - Merge - Merge all layers
Image - Resize : 950 px, width, resize all layers checked.
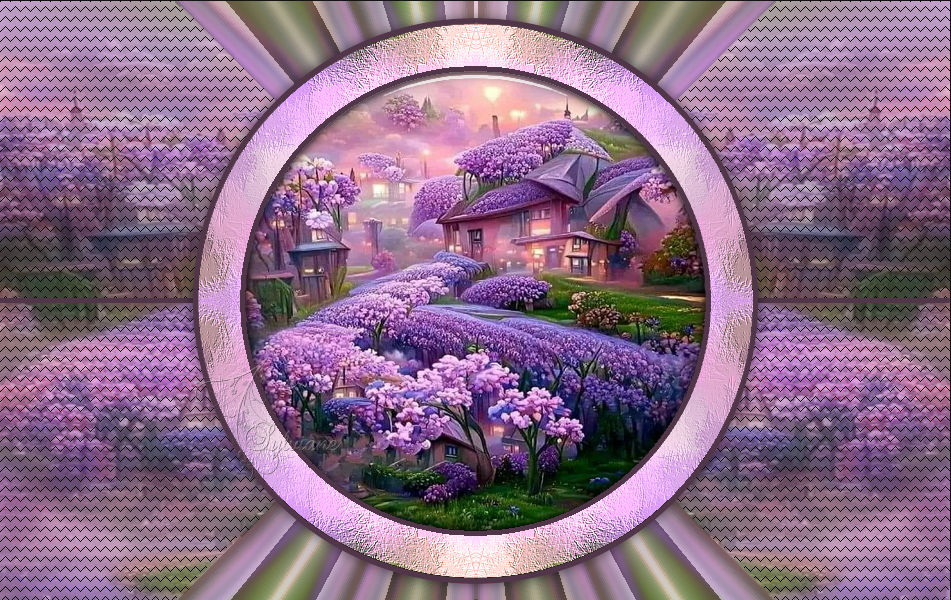
Save as JPEG
Back
Copyright Translation 2023 by SvC-Design